Gold Inspired Look.
This is my first make-up tutorial on this blog, I was inspired by my Gold color Kitty loafers from C.Label.


Want to get this look? Well, read on beautiful. ;p
Oh and get ready for my bared face!

You gotta prime your face with a primer for your foundation to stay on all night, and it gives a smooth canvas for you to work with. I even apply it on my eyelids as an eyeshadow primer.


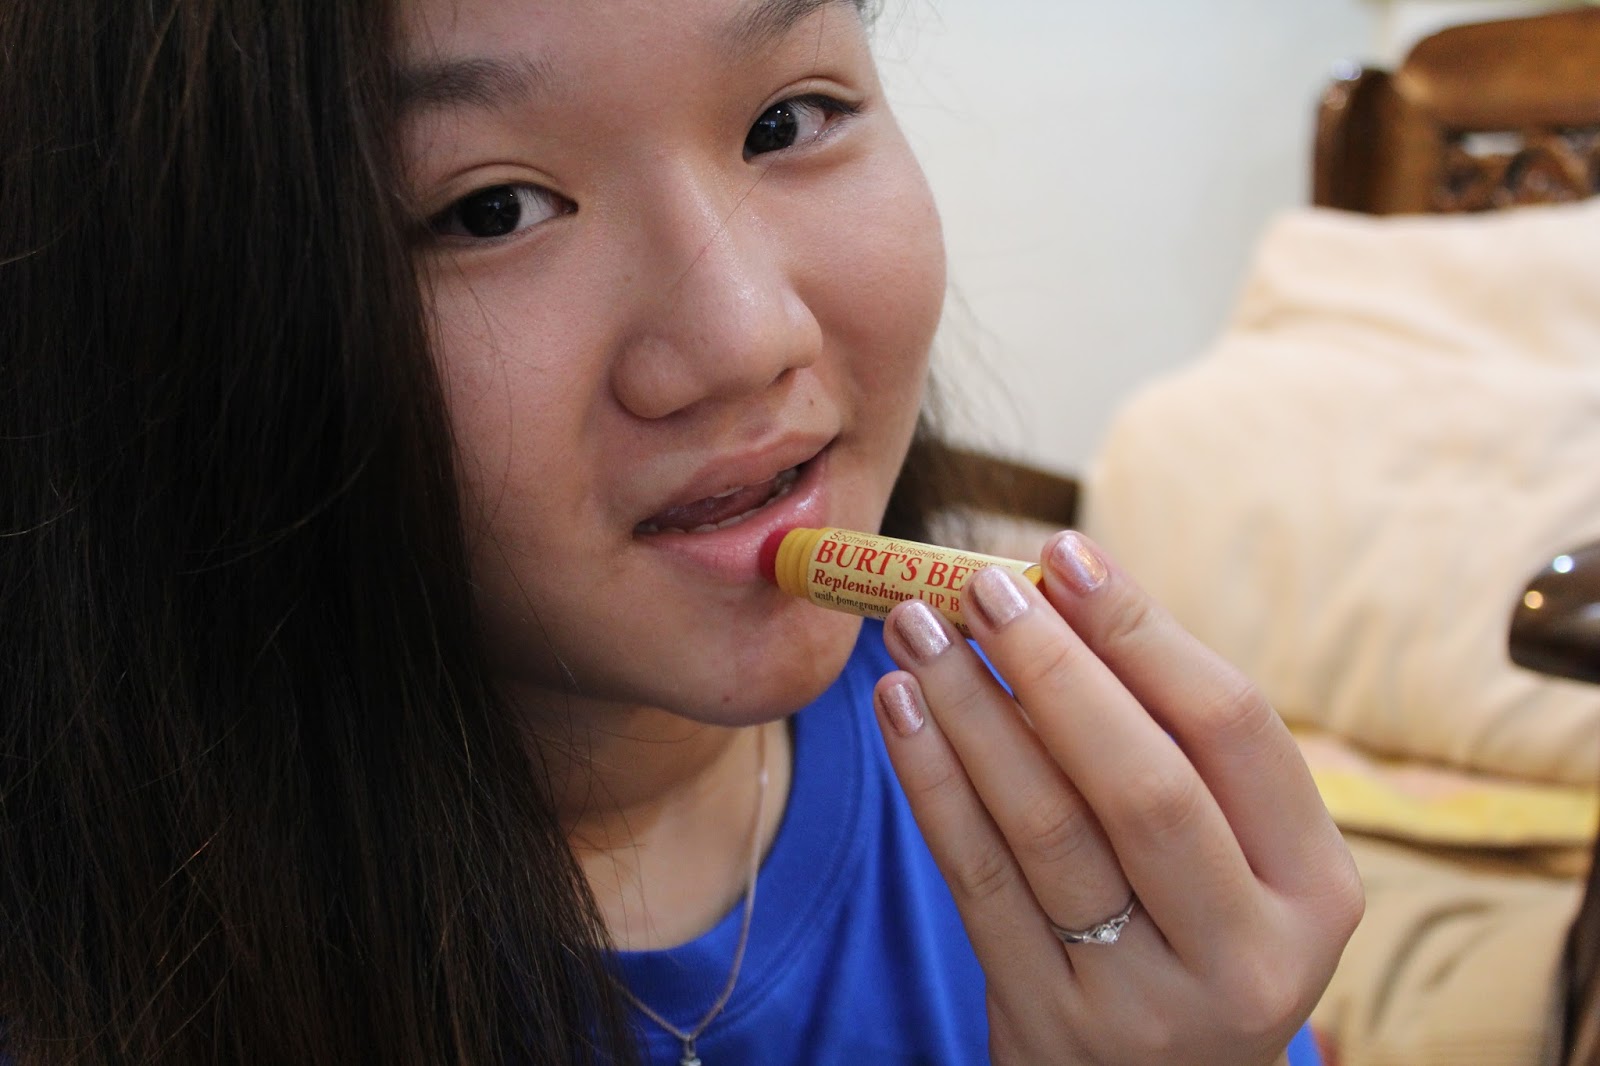
Before I do anything else, I slap on my lip balm to moisturize my lips! MUAHXX

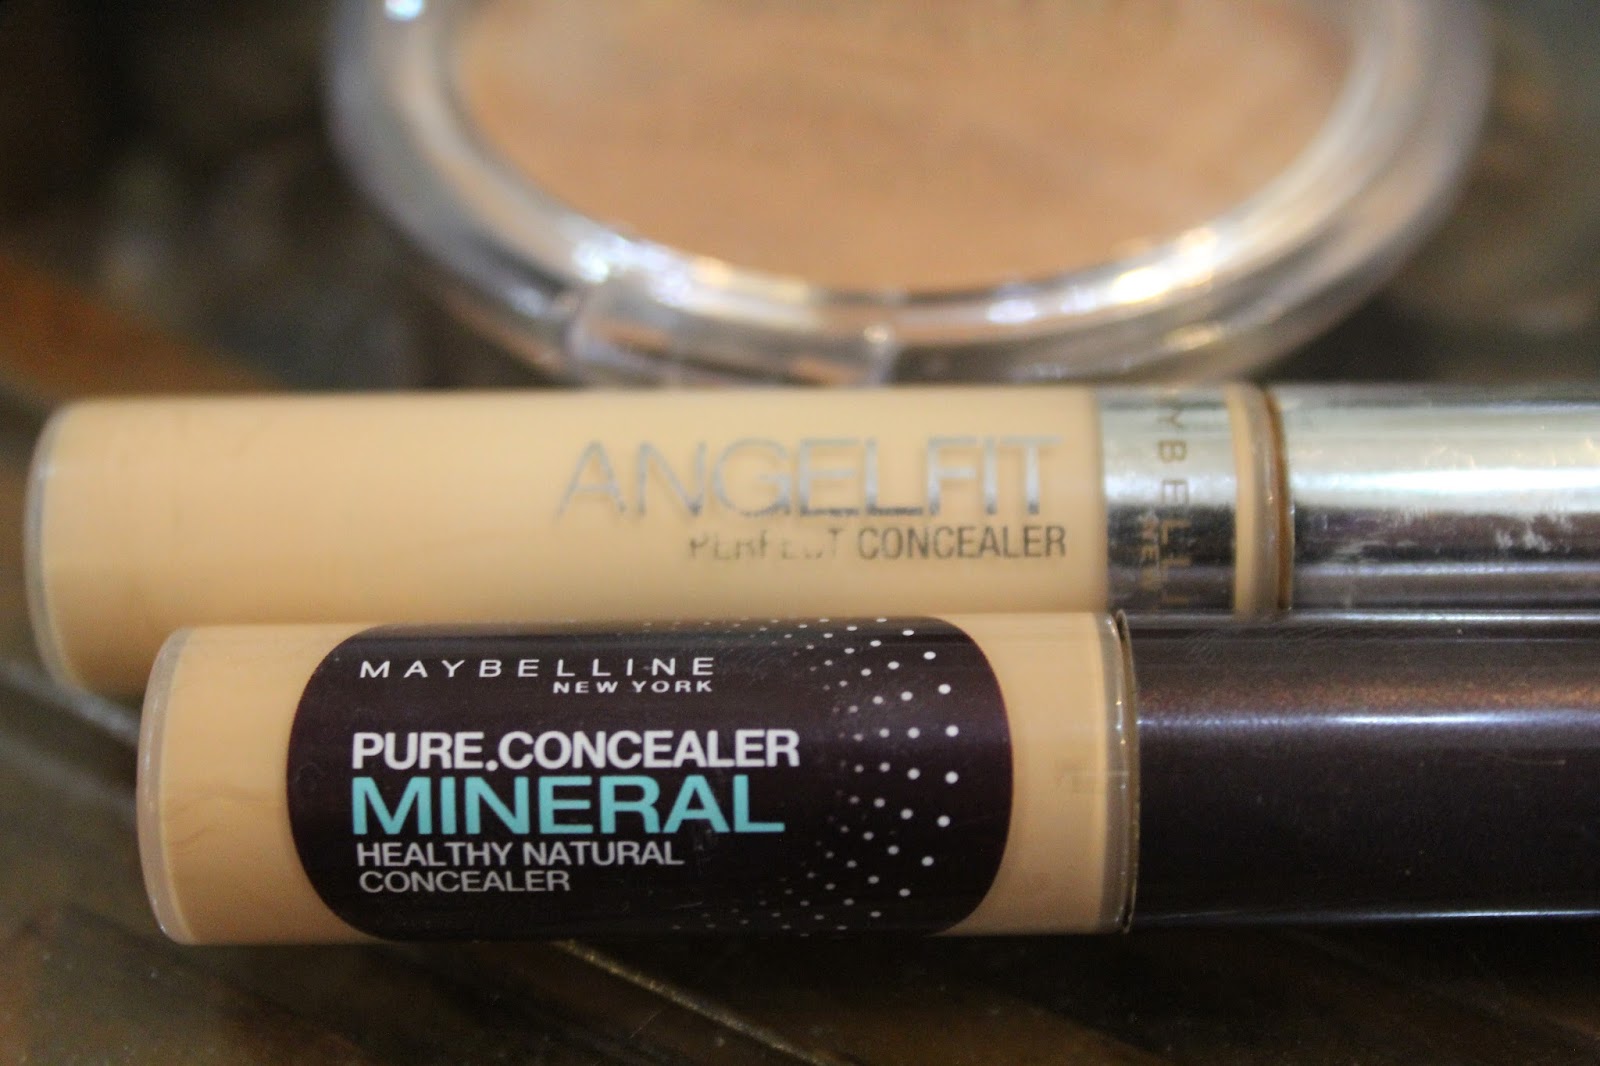
Now, I used two type of concealer a lighter one for blemish, purple eye bags etc and a lighter concealer as a brightener.


GEL LINER! Why gel liner? Because it last longer! Just draw the liner following your eye shape and at the corner drag it out a lil. Now from the middle of the lower lash line, draw the line connecting to the upper lash line. It's like creating a korean style liner, straight and natural.


Want to get this look? Well, read on beautiful. ;p
Oh and get ready for my bared face!


 |
| I dot it on my face and then blend it out with me fingers |

Before I do anything else, I slap on my lip balm to moisturize my lips! MUAHXX
Now, I used two type of concealer a lighter one for blemish, purple eye bags etc and a lighter concealer as a brightener.
 |
| This is the darker one. Apply and blend with fingers. |
 |
| This is the brightener, I place it where I wanna at more light and blend with my fingers |
Everybody knows what step is next! Well, if you don't. It's foundation.
 |
| Dot it on your face and blend with your fingers |
I'm gonna bring some life into my brows! I just fill in the spars area, shape it a lil brush it out.

Let's powder the shine away! I like to add a lil coverage with my powder, as this is look for a formal event I wanna look FLAWLESS. Even I'm not, at least I tried. hehe
 |
| Powder away loves! |
Now, let's move to our eyes! I'm gonna use a cream shadow as my base/primer.
I apply it on my entire lid without exceeding my crease with a base shadow brush.

 |
| Remember do not exceed your crease |
 |
| Cream Shadow with a base brush |
 |
| Use a small accent brush and apply a light shimmer color on your inner coners and bring it a lil below your eye. Next, use the same base brush and combine the second and third color. and apply it on top of your cream shadow and bring it up the crease a lil. |
 |
| Now to smoke it a lil, using a crease brush or the tip of the same brush Take a matte dark brown and blend it into your crease and bring it down to the lower lash line going half way in. |
 |
| And you'll get something like this. |


Curl your lashes and apply false lashes, it's optional. But I have very short and straight lashes so I need a lil help.

 |
| Use your fav lashes, mine is the half set lashes |
 |
| Apply the glue and let it dry for 30 sec before applying it to your lash line. Apply it as close to the lash line as possible. |
 |
| see the difference? Yeah! I have lashes! >v< |


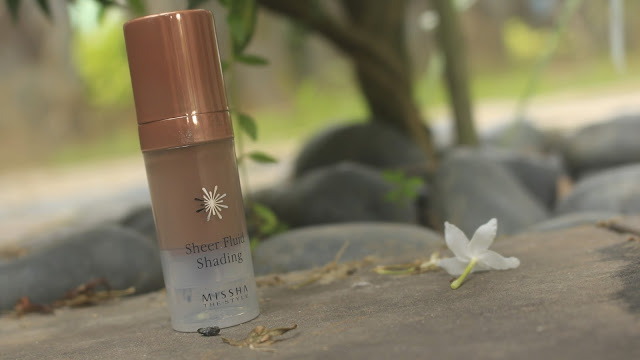
Eyes done! Now for blusher and bronzer for my face contouring.
 |
| Do a fishy face and blend your bronzer from the hollow of your cheeks to the temple. |
 |
| Smile and blend from the apple's of your check upward. |
Now that your Lash glue has completely dry apply a few coats of mascara so that your real lashes and the false lashes can stick together. Don't forget your lower lash line as well, they need loving too.


 |
| OMG! I look crazy. |
LIPS! Love them, enhance them!
 |
| I'm applying a nude lipstick |
 |
| Following with a nude gloss. |

And now you are done!!
Products used!
Primer - Baviphat Island Girl BB Primer Fix
Foundation - Za Skin Beauty Liquid Foundation
Concealer - Lighter: Maybelline Angle Lift Perfect concealer in 01 light beige
- Darker: Maybelline Mineral Concealer in 02
Powder - Revlon PhotoReady in Natural Orchre
Eye Brow - Empro Triangle Brow Pencil in Golden Brown
Cream Shadow - Maybelline 24H Color tattoo in Bold Gold
Eye Shadow Palette : Maybelline Diamond Glow Palette in 01 Copper Brown
Matte brown shadow : From The Balm Meet Matt(e) Palette.
Eye Liner : Maybelline Gel Eye liner in Black
Bronzer : Essence Bronzer
Blusher : Etude House Blusher in Pink Beam
Mascara : Maybelline The Rocket Volume Express Mascara.
Lipstick : Maybelline Color Sensational in Totally Toffee
Lip Gloss : Rimmel Vinyl Nude lip gloss.
Lip Balm : Burt's Bees
Brushes : Real Techniques Base Shadow brush and Accent Brush
Eye lash curler : Shu Uemura
False Lashes : Vocemoda from Sasa
Eye lash Glue : Koji Clear eye lash glue from Sasa


That's all I have for you all today hope your guys enjoy it and follow my blog and share it out.
Contact me!!!! =)
Twitter : @EileenWrighton
Instagram : @EileenWrighton
Facebook : Eileen Wrighton
Email : rusticmonkey13@gmil.com
Twitter : @EileenWrighton
Instagram : @EileenWrighton
Facebook : Eileen Wrighton
Email : rusticmonkey13@gmil.com
Disclaimer: All products are brought by myself and opinions are all my own! I'm not paid babes! Loves!
Hi hi my dear char bor! :)
ReplyDelete"Just draw the liner following your eye shape and at the corner drag it out a lil. Now from the middle of the lower lash line, draw the line connecting to the upper lash line." I always messed up with this one lar!!!! T.T if can also one side only :'( Btw, I think this eye makeup will also look good if you wear RED LIPSTICK!
http://immtherandom-ista.blogspot.com
I know my dear, practice makes perfect. I had that kind of problems when I started playing with make-up. But I can't say I'm a pro but I don't face it that often.
DeleteThanks for the tip. For me I think it's a bit too much. So I like it nice an natural. Classy and chic that's what I'm going for babe.